
TABLE OF CONTENTS
- Overview of canned responses
- Create a canned response
- Use a canned response in a ticket
- Manage canned responses
Canned responses help agents reply faster by using predefined message templates. This article explains how to create, organize, manage, and use canned responses when responding to tickets.
Prerequisites
- Ensure you have admin privileges to create and manage canned responses.
Overview of canned responses
Canned responses are reusable reply templates that your agents can use while replying to tickets. When a customer asks a common question, such as how to reset a password, agents can quickly insert a canned response instead of typing the same reply repeatedly.
Each response can include dynamic placeholders, such as the ticket ID, subject, or requester name. These placeholders automatically populate relevant values, helping responses feel personalized.
This article covers the following tasks:
- Creating a canned response
- Organizing canned responses into folders
- Moving canned responses
- Deleting canned responses
- Using a canned response in a ticket
Create a canned response
To create a canned response, follow these steps:
Log in as an admin.
Go to Admin > Agent Productivity > Canned Responses.
Click New Folder.
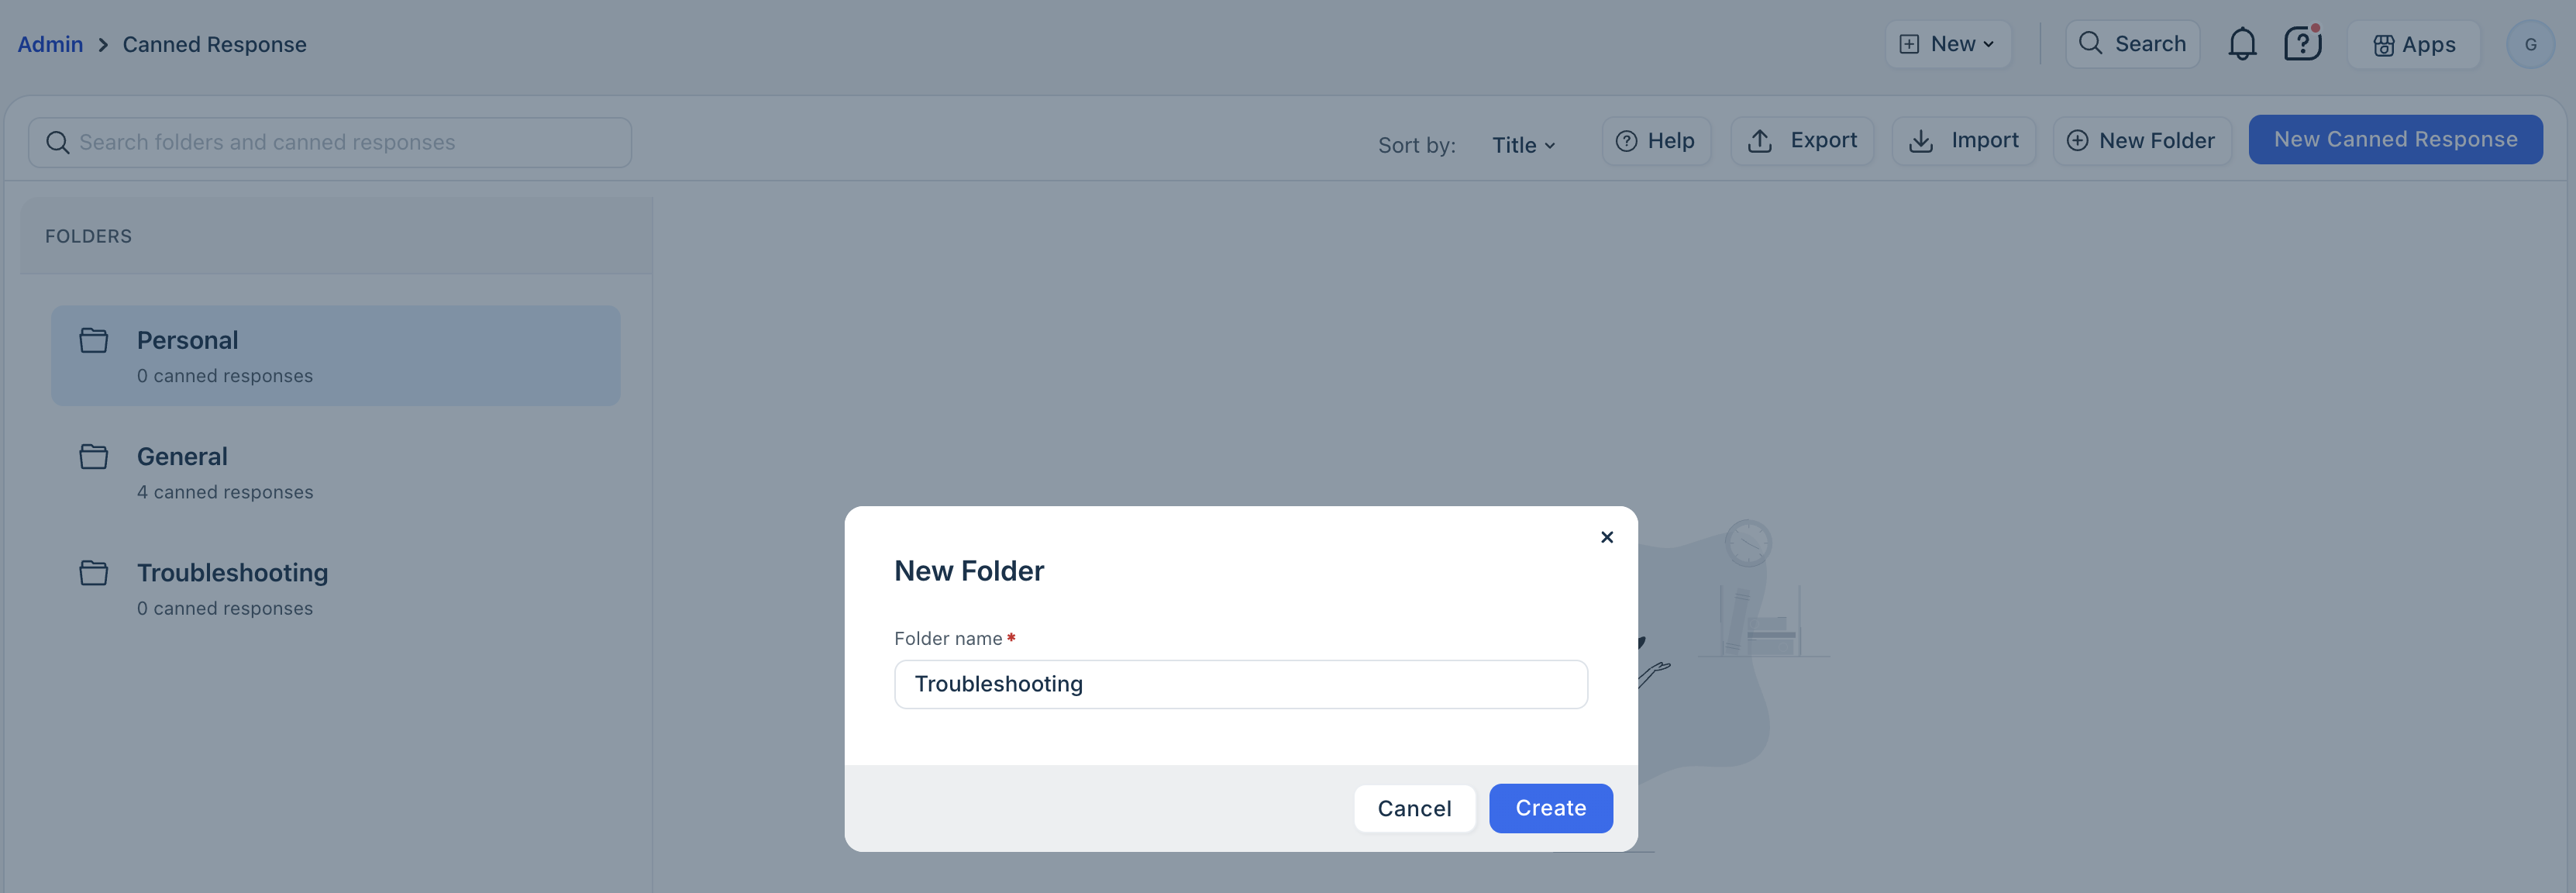
Enter a folder name and select Create.
Select New Canned Response within the folder you created.
Tip: You can also click New Canned Response first and select the folder later.
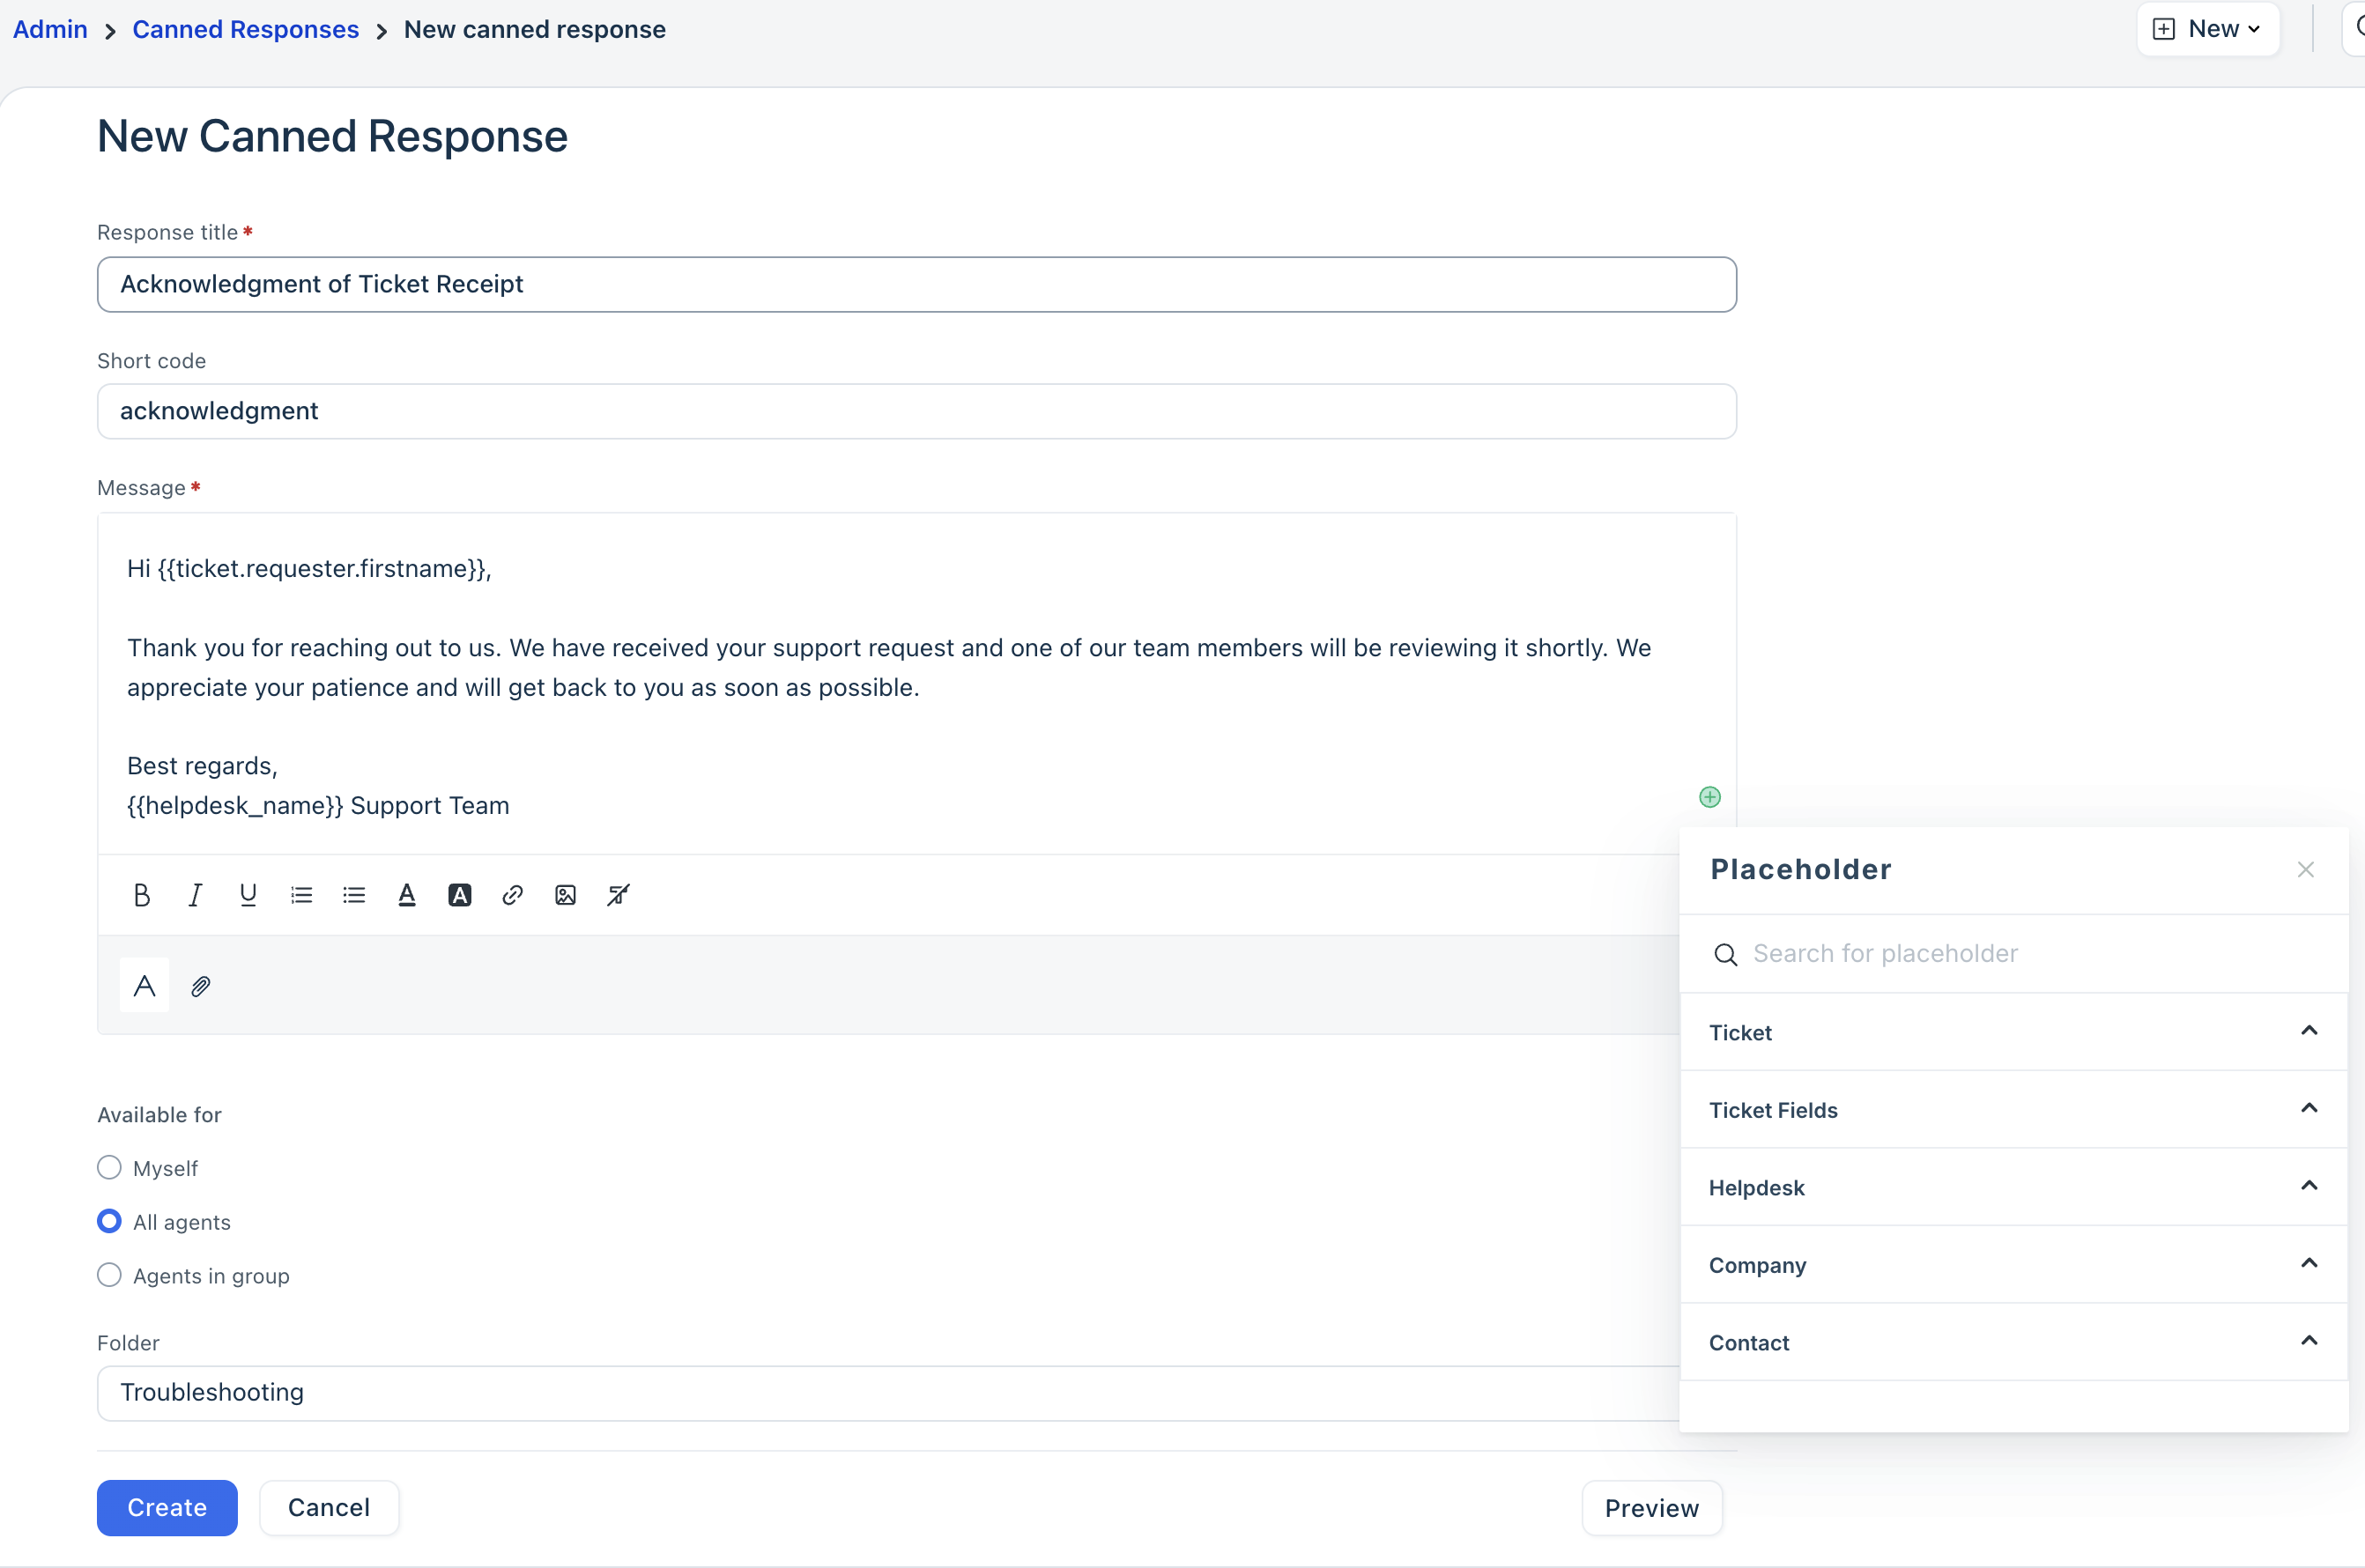
Enter a response title and message.
Click the plus icon to insert a placeholder and add dynamic content, such as the ticket ID, subject, or requester name.
Use the available formatting options to style the message if required.
Enter a short code for quick access. For example, enter acknowledgment for acknowledging customer's message. Agents can type this code to insert the response. For more information, see Use the keyboard shortcuts or short-codes.
Set the visibility for the response. The options are:
Myself: Visible only in your personal folder. Note that others cannot access the personal folder.
All agents: Visible to all agents.
Agents in group: Visible only to selected groups. For example, you can restrict a refund-related response to your Returns and Refunds team.
Select the destination folder.
Click Save.
Use a canned response in a ticket
After creating canned responses, your agents can use them when replying to tickets to handle common queries efficiently. This reduces repetitive typing, improves response time, and ensures consistent and accurate communication across all customer interactions. Canned responses can be added using the following methods:
- Using canned responses button
- Using keyboard shortcuts or short codes
Tip: You can enable Freddy AI canned response suggester to automatically view and use canned responses based on similar past tickets.
Use the keyboard shortcuts or short codes
You can quickly insert canned responses directly from the reply editor using keyboard shortcuts or short codes.
To use keyboard shortcuts or short codes:
- Open a ticket.
- In the reply editor, type / (forward slash).
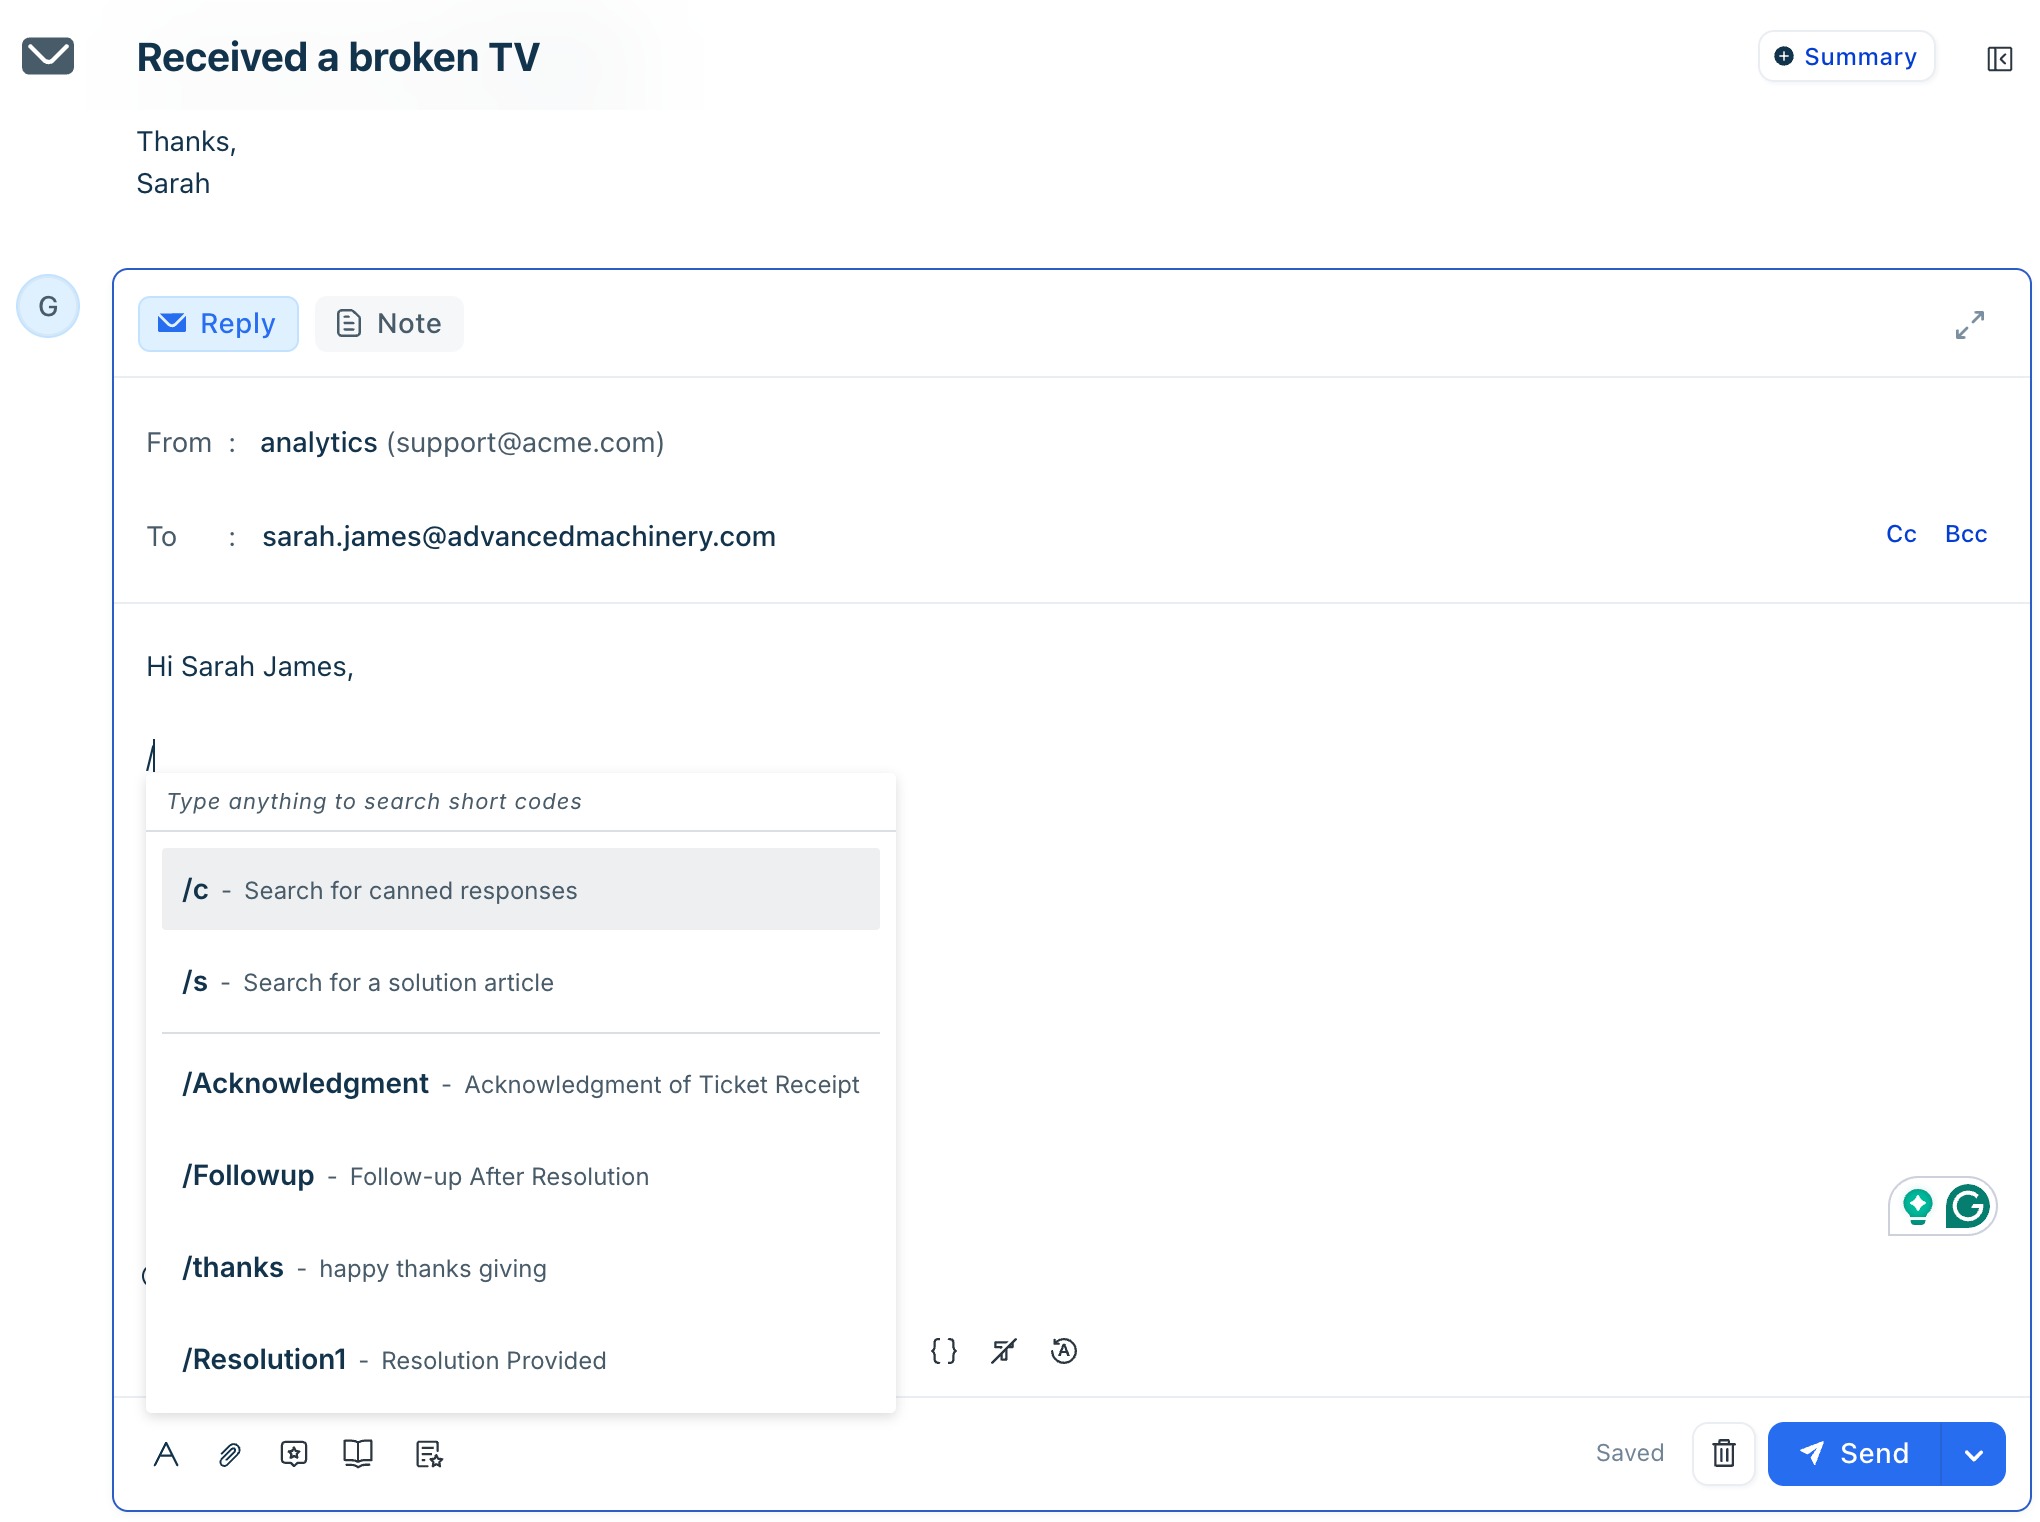
- Do one of the following:
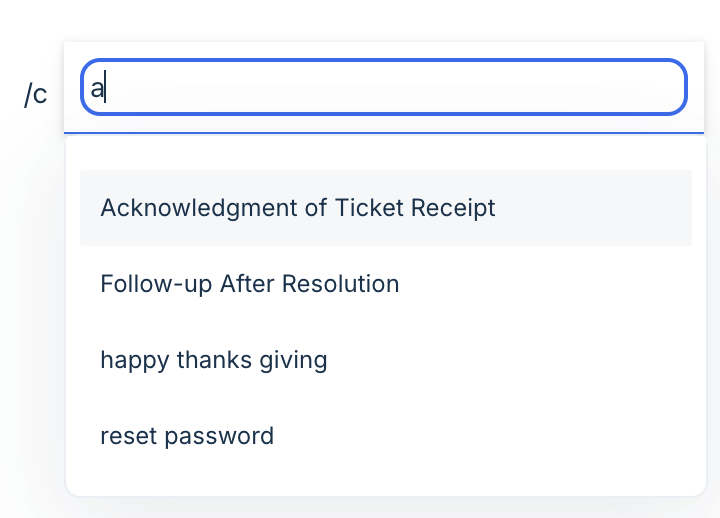
- Type /c and press Enter to search for canned responses. Select a response to insert it into the editor.
- Type a short code (for example, /Acknowledgment) to quickly insert the corresponding canned response.
- Click Send to send the response.
- Type /c and press Enter to search for canned responses. Select a response to insert it into the editor.
Use canned responses button
- Open a ticket.
- In the reply editor, click the Canned responses icon.
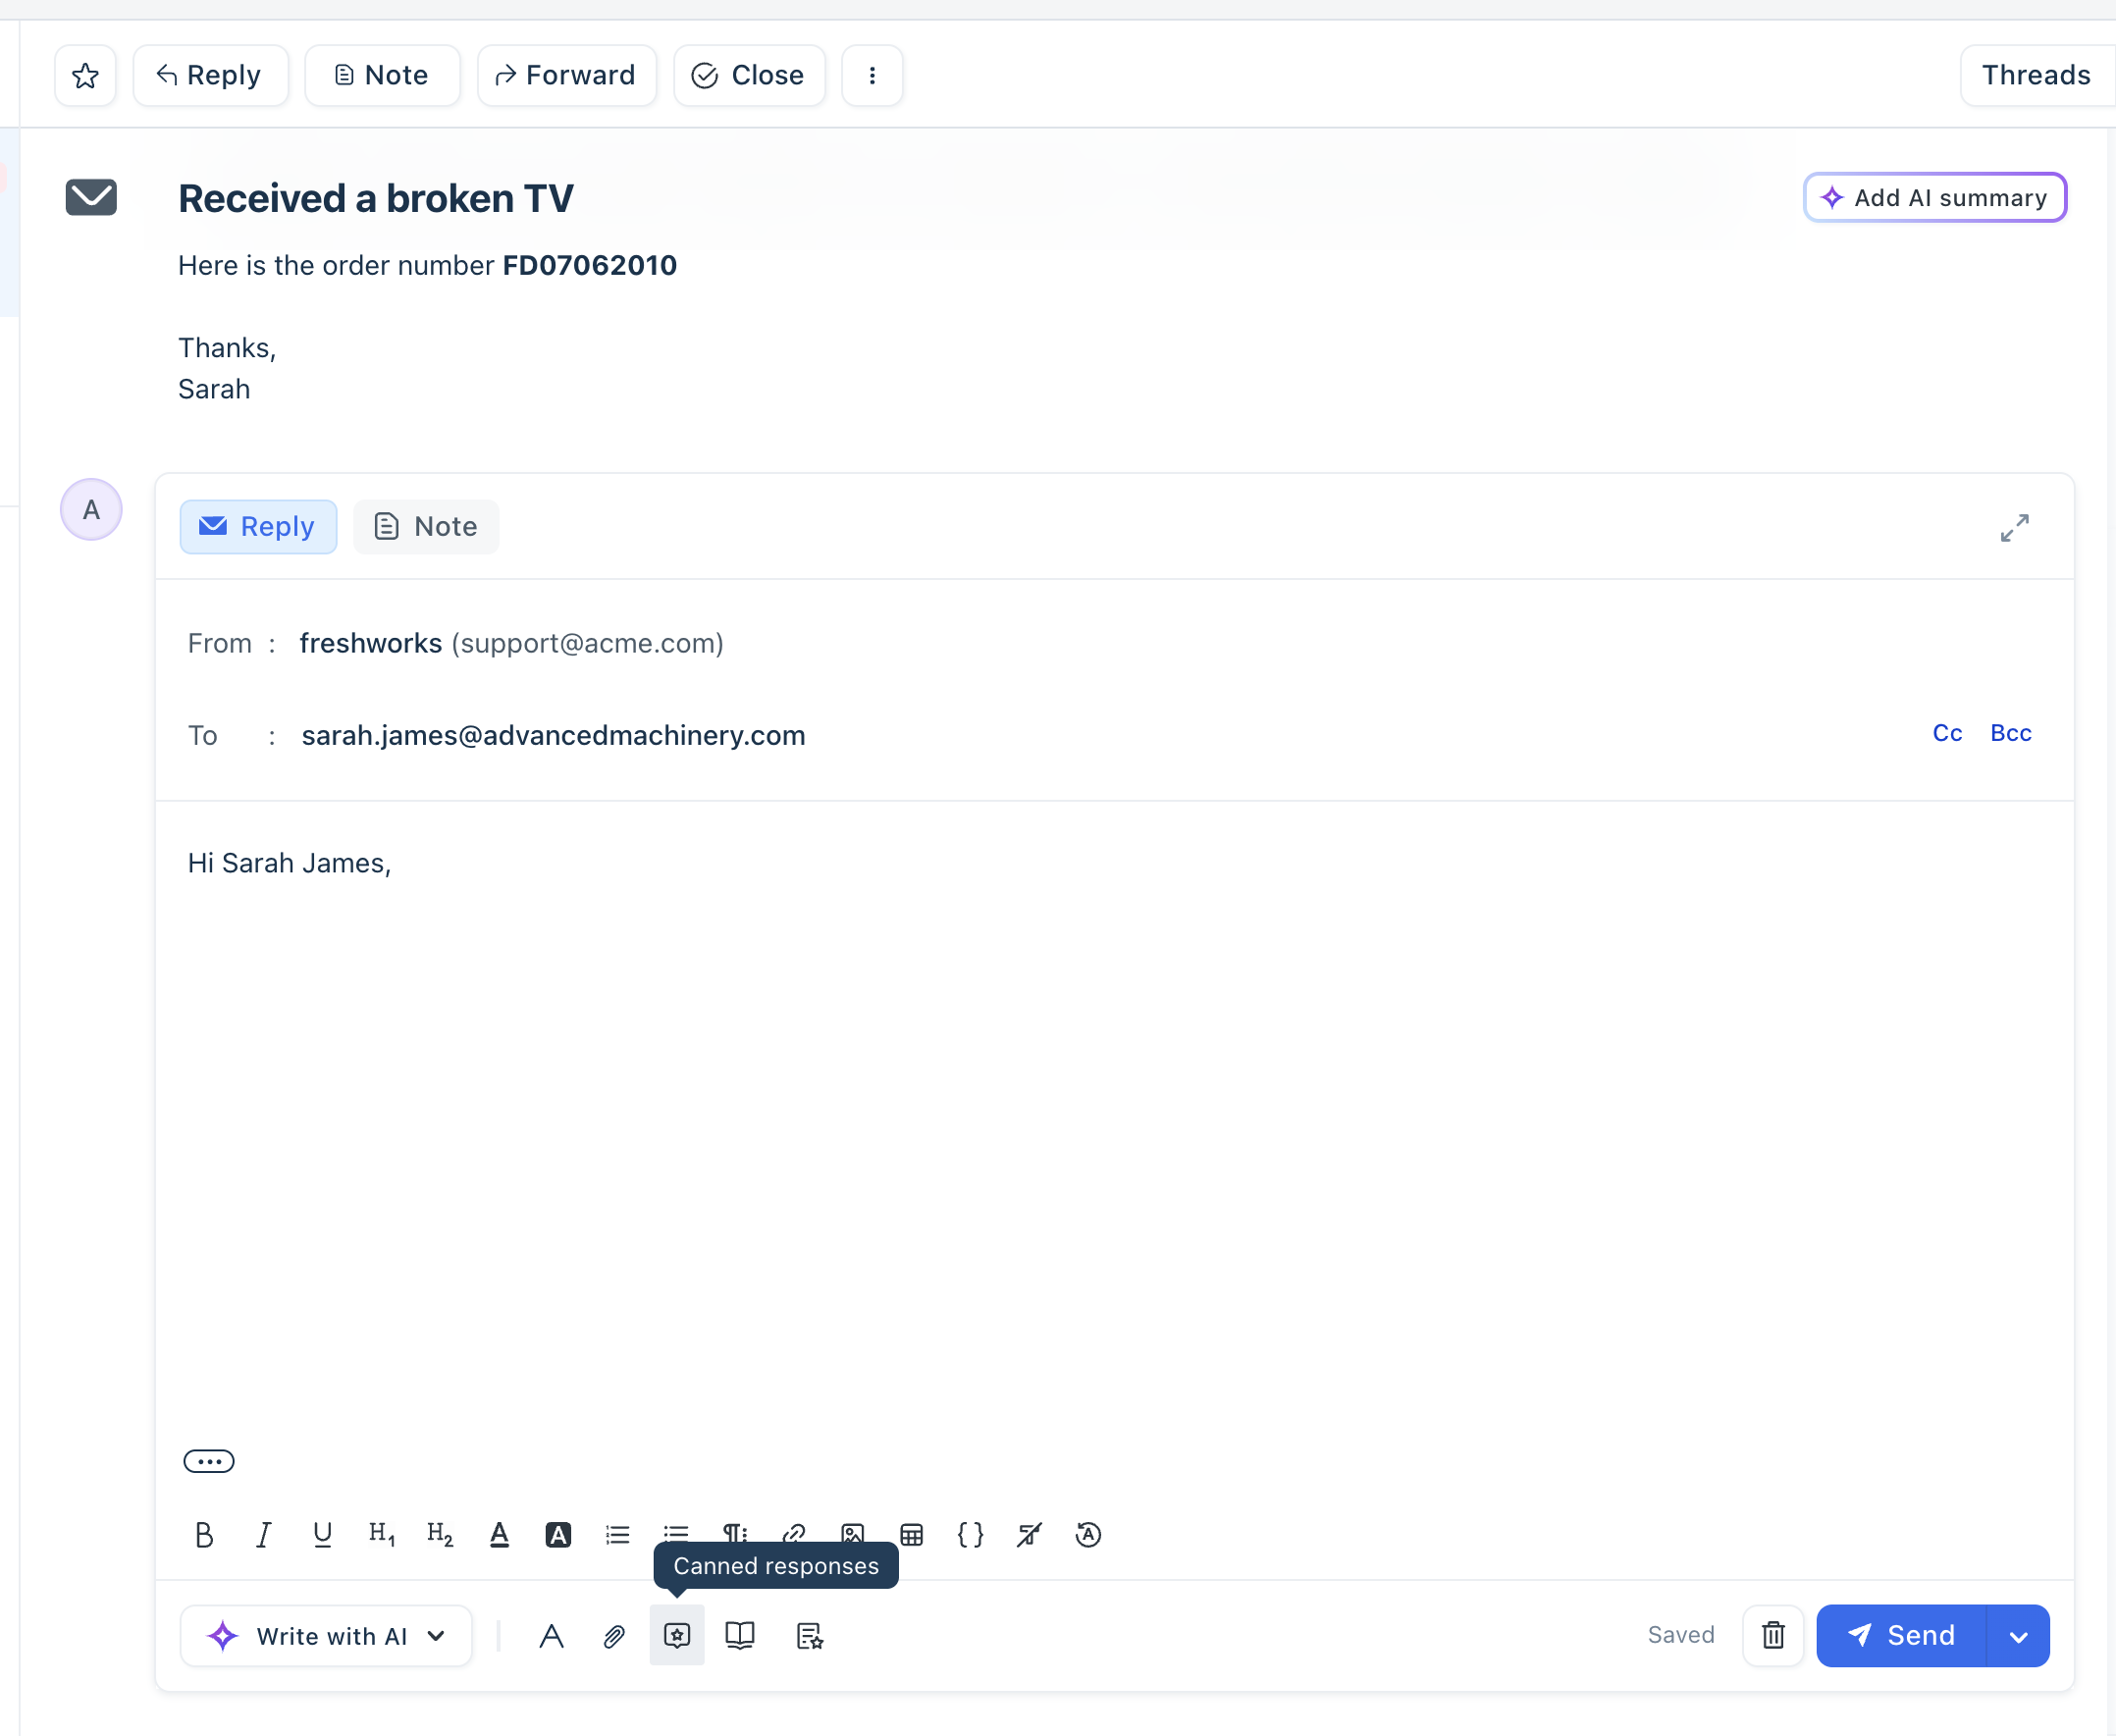
Review responses in the right-side panel.
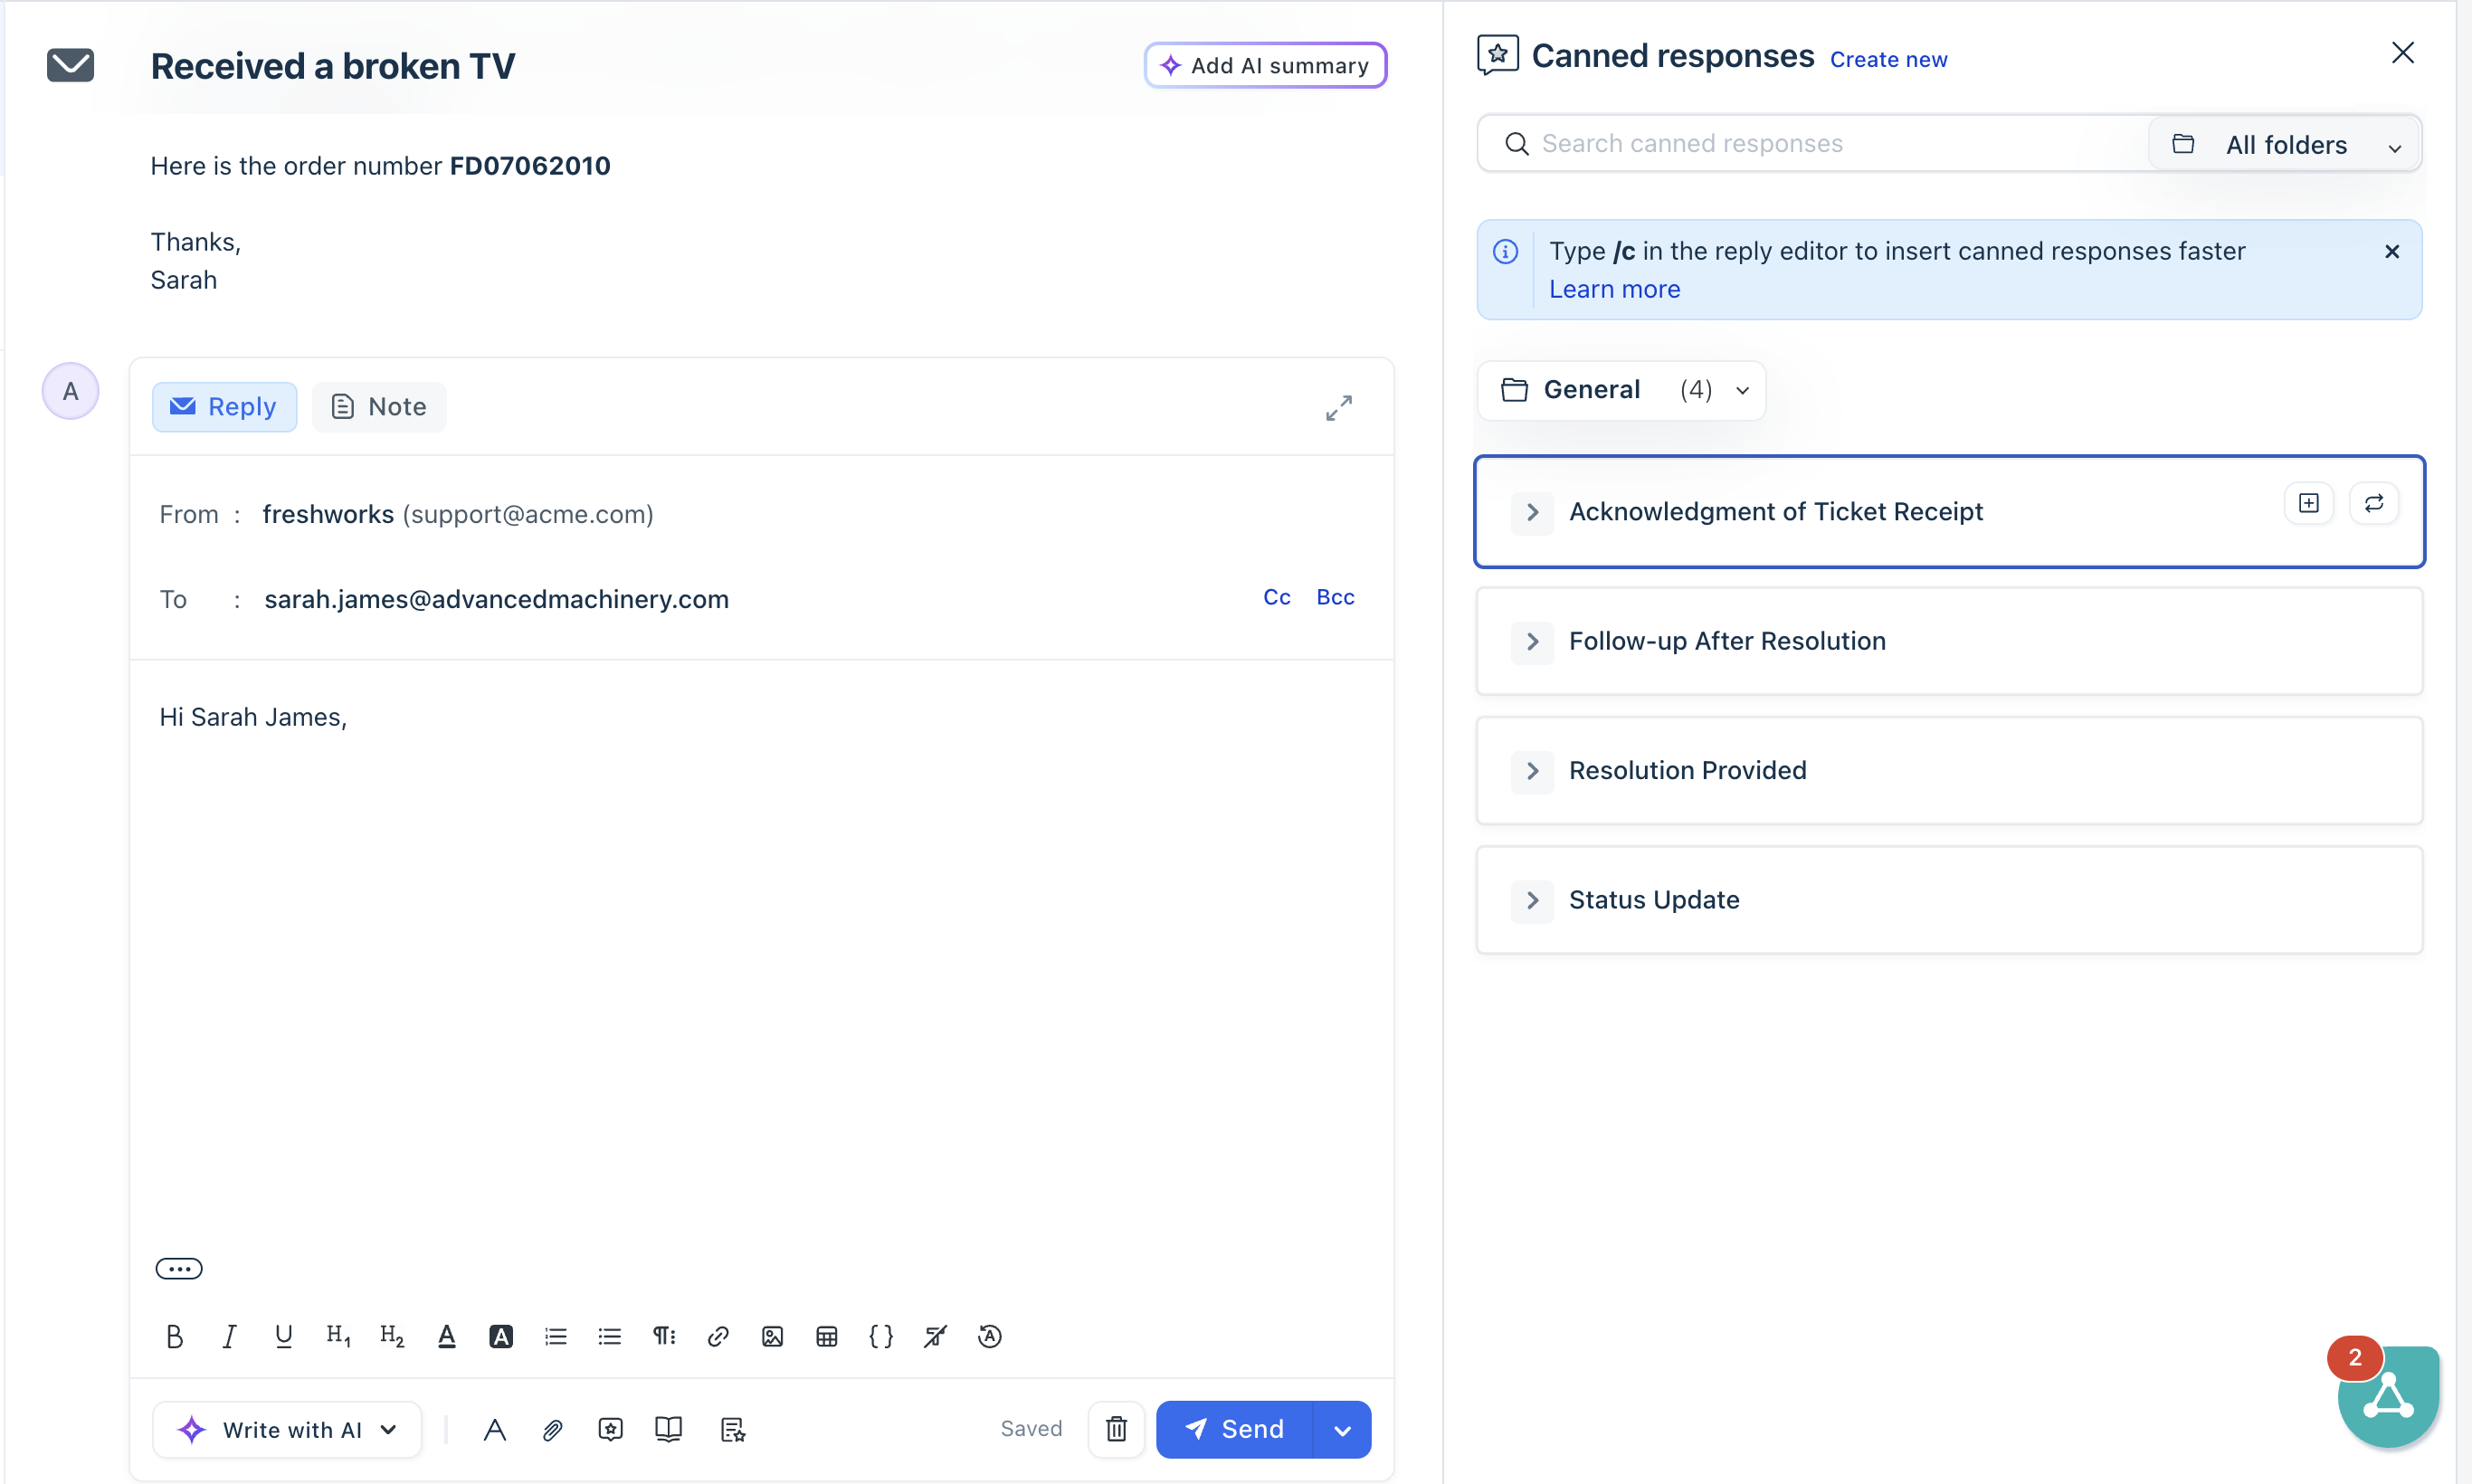
Within the slider, you can view all available folders and the associated canned responses. You can perform the following actions:
Search for a specific canned response using the search box. You can refine your search within a selected folder.
Expand a response title to preview the full message before using it.
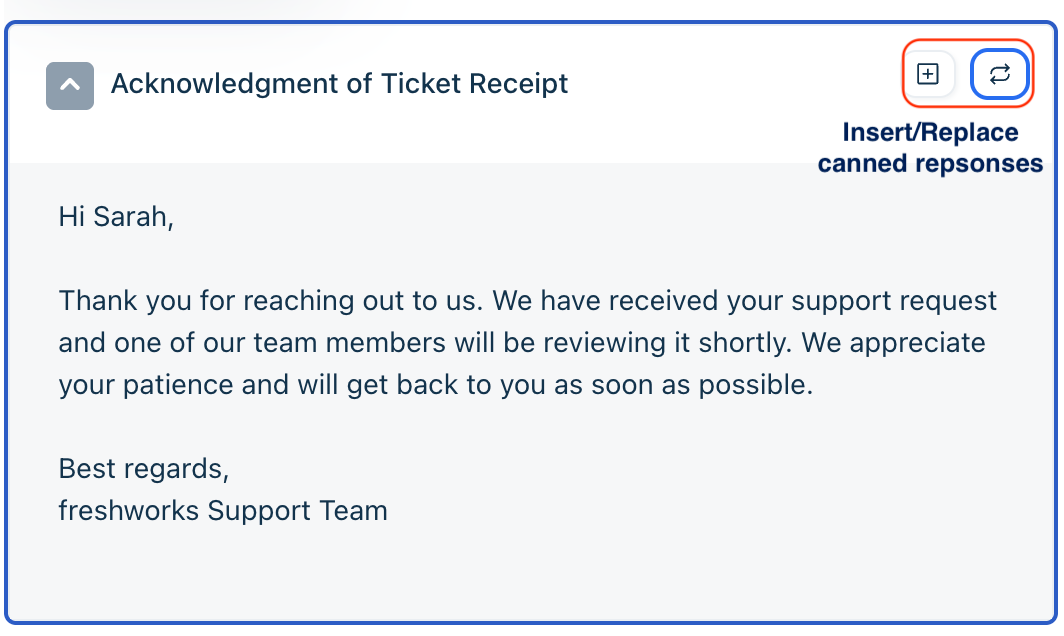
Click Insert to add the canned response below the existing draft content.
Click Replace to overwrite the entire draft with the selected response.
Manage canned responses
You can manage canned responses by organizing them into folders, searching for specific responses, and moving or deleting them as needed. Grouping responses by category. For example, you can create folders such as billing, refunds, or technical support, which helps agents quickly locate relevant responses and improves efficiency.
Tip: You can export your canned responses in bulk as a CSV or XLSX file. For details, see Exporting canned responses.
Search canned response folders
You can search for specific canned responses or folders using the search bar.
To search for a canned response or folder, follow these steps:
- On the canned responses page, enter a keyword in the search box.
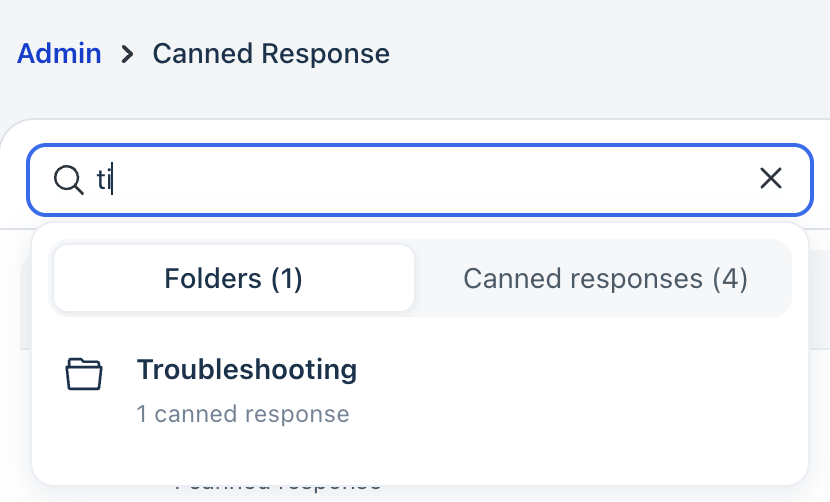
- View the results under:
- Folders to find matching folders
- Canned responses to find individual responses
The results update dynamically as you type, allowing you to quickly locate relevant folders or responses.
Move canned responses
To move canned responses to a different folder, follow these steps:
- Open the folder containing the responses.
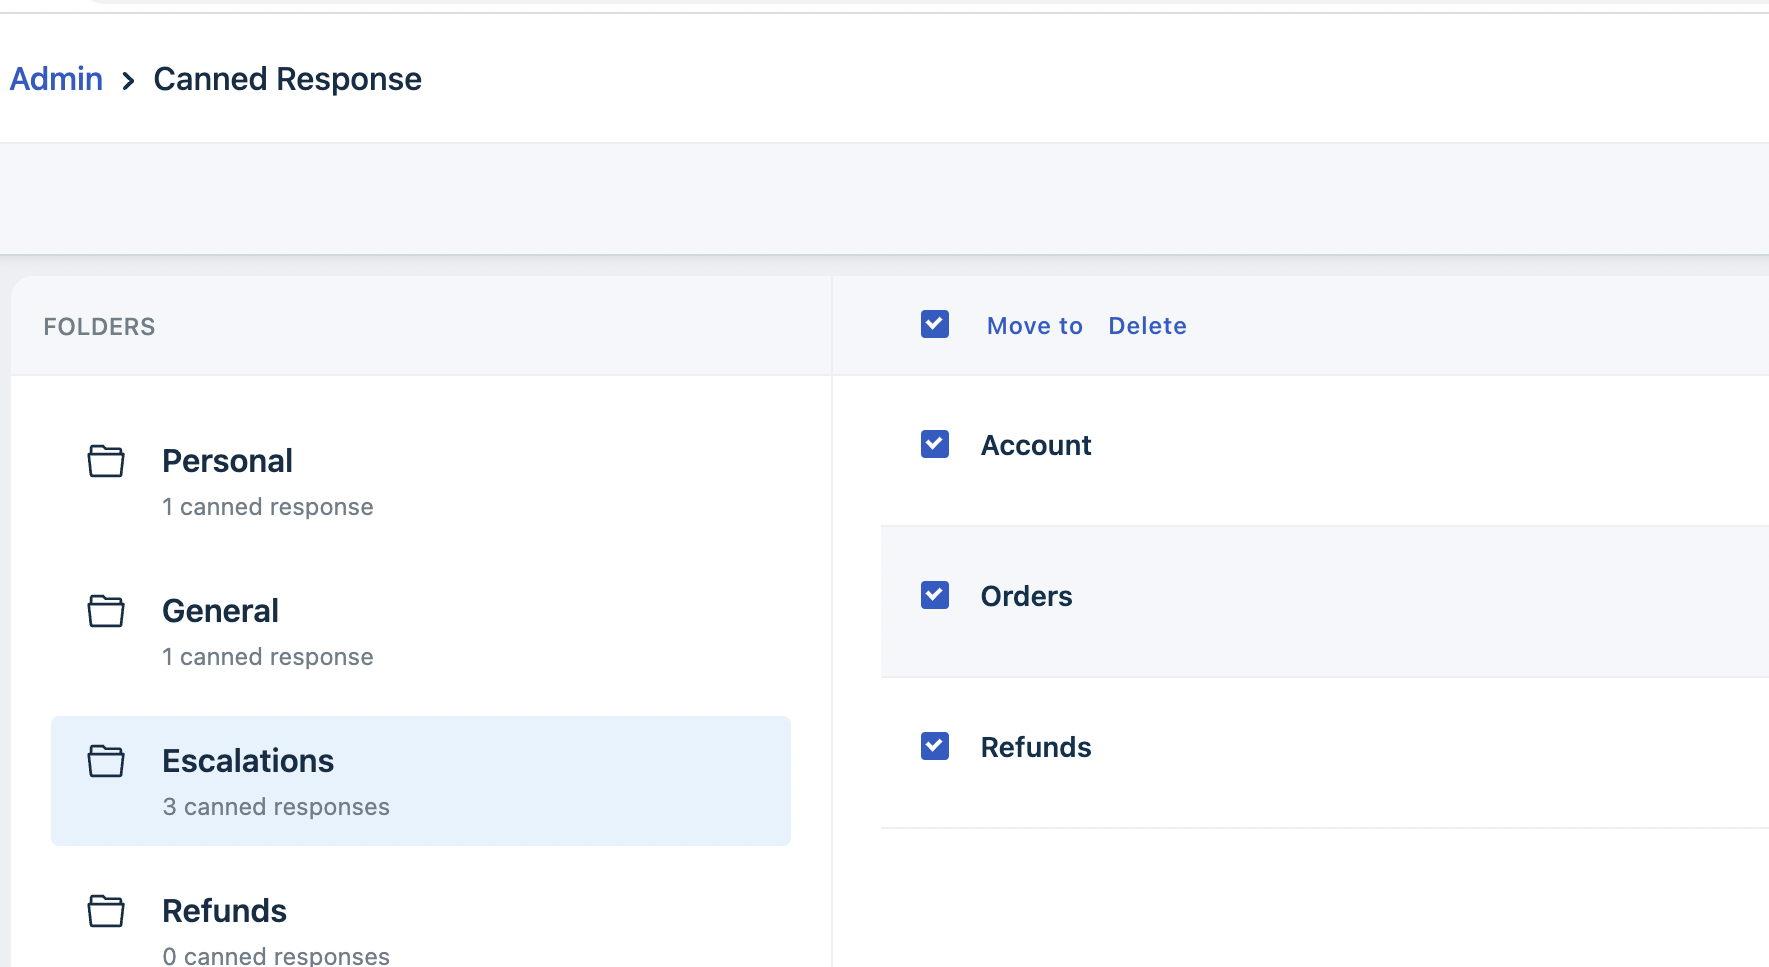
- Select the responses you want to move.
- Click Move to.
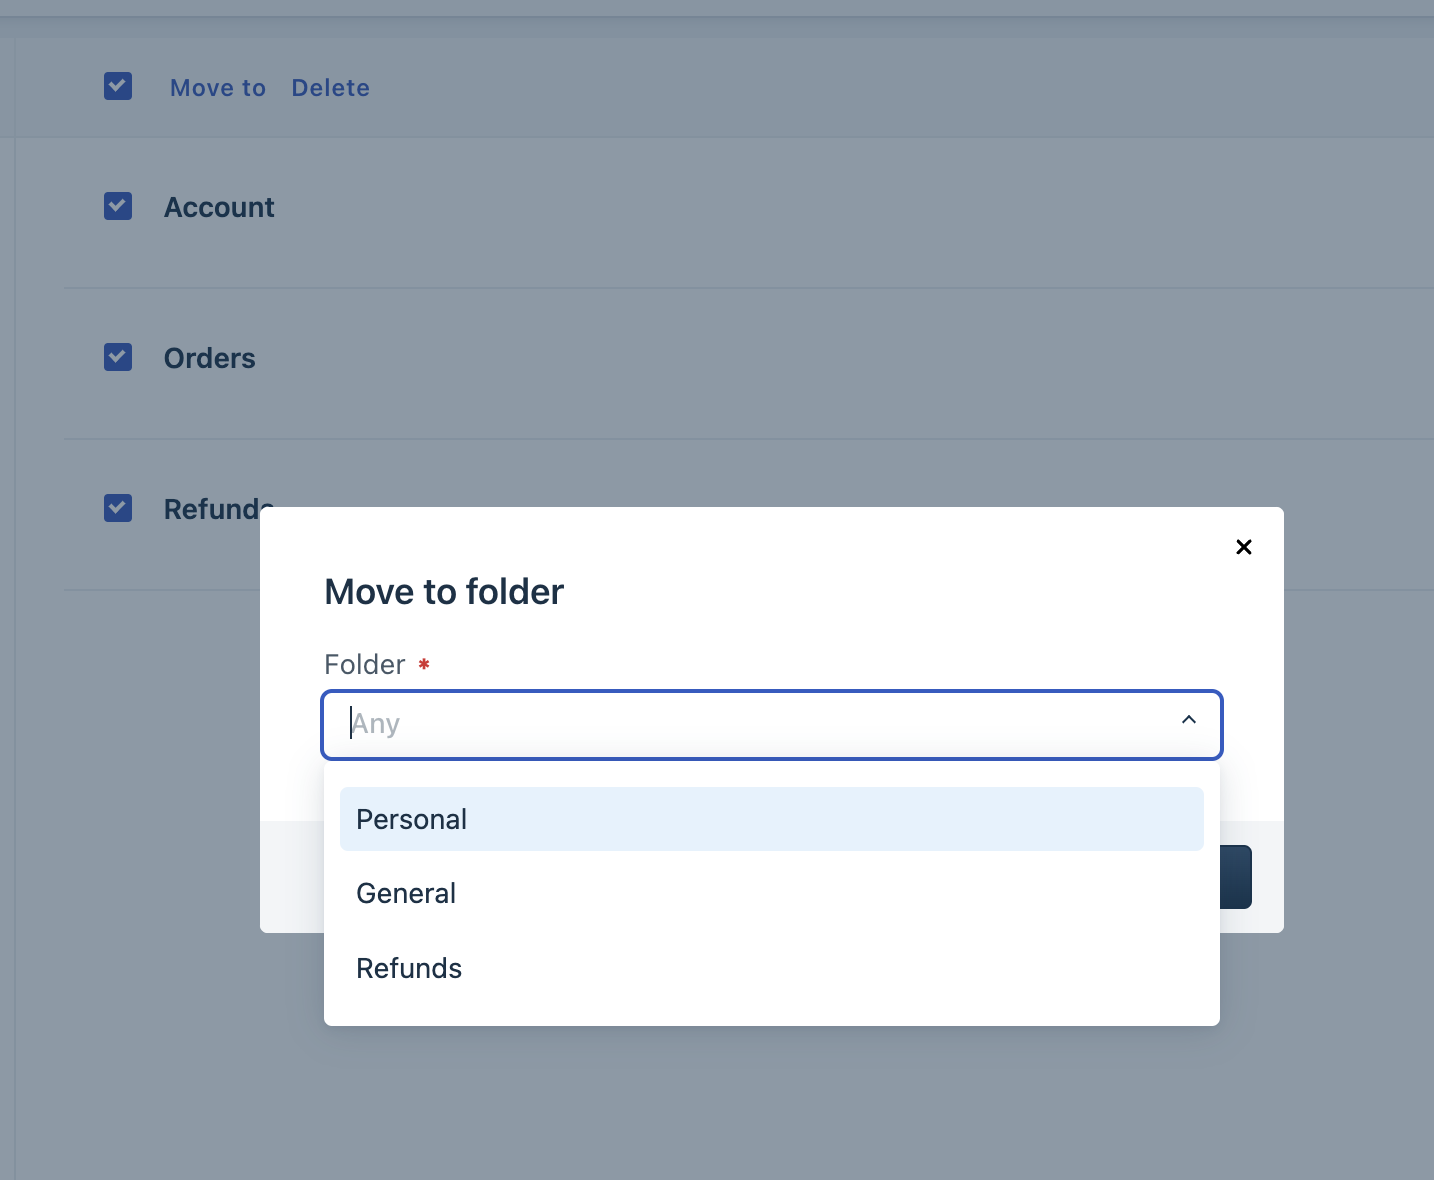
- Select the destination folder and click Move.
Delete canned responses
To delete a canned response, follow these steps:
- Open the folder containing the response.
- Select the canned response.
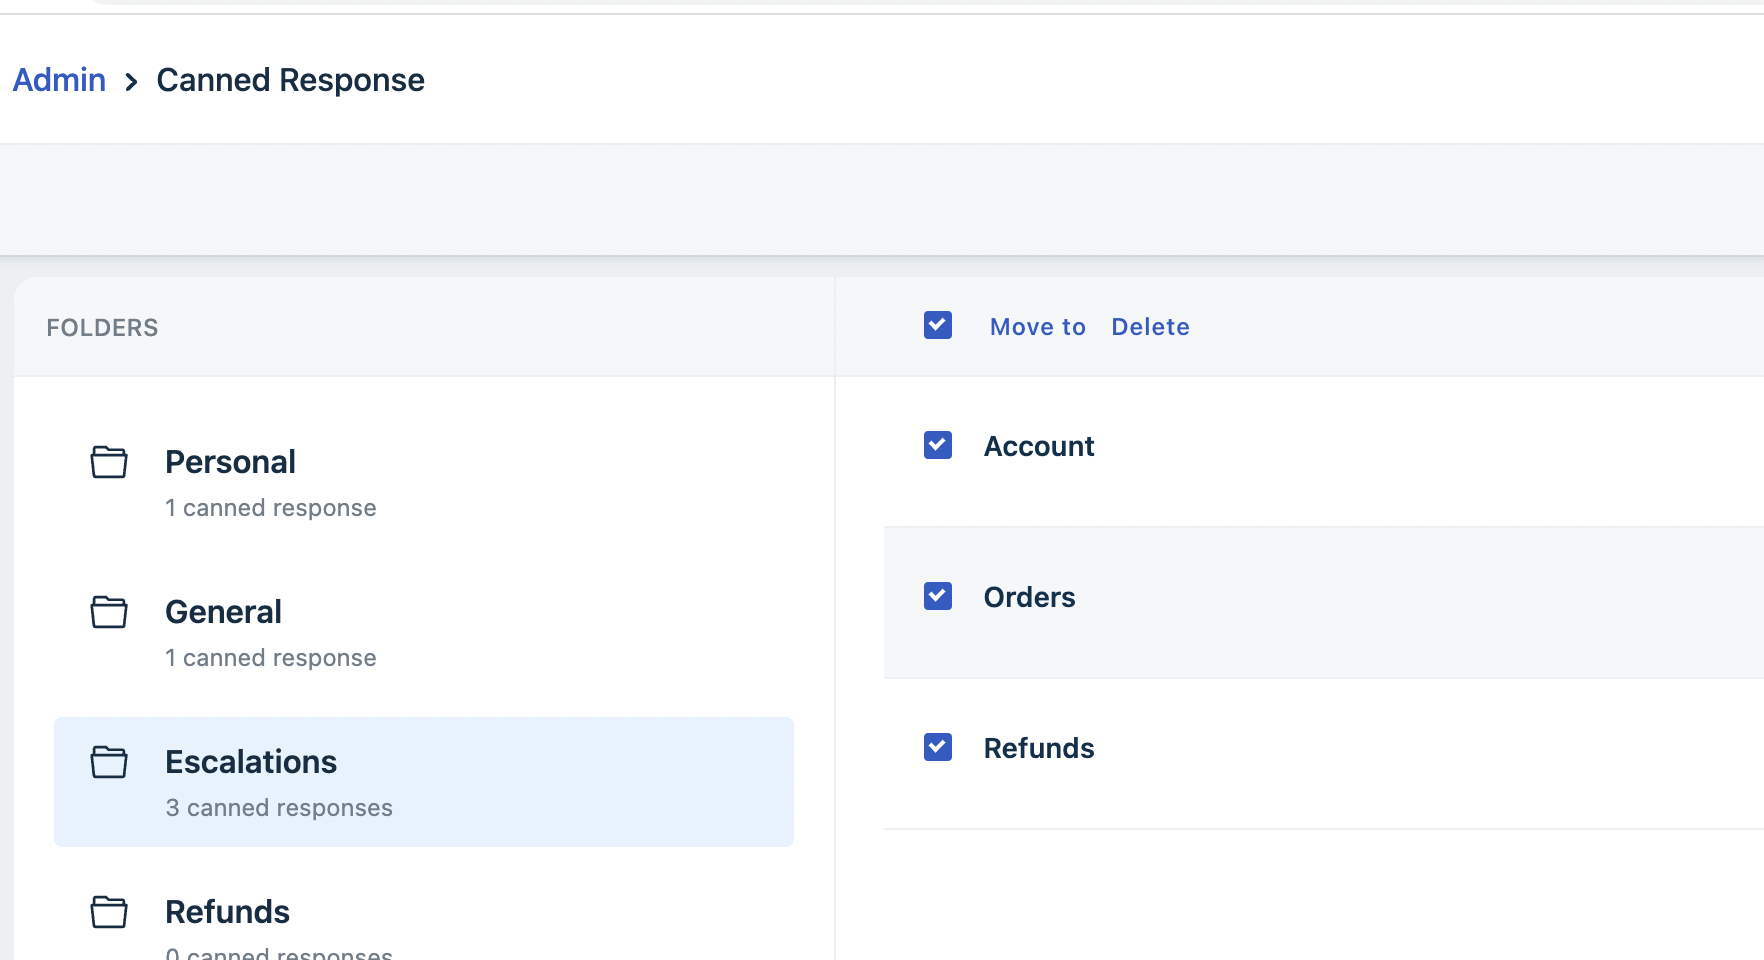
- Select Delete.
Note: You can only delete or edit custom canned response folders. Default folders can't be deleted or edited.